 Here are some of the tools I used. My small Craftsman drill couldn't hack it and fried its motor. I then had to buy a Milwaukee hammer drill. No really I did. :-) |
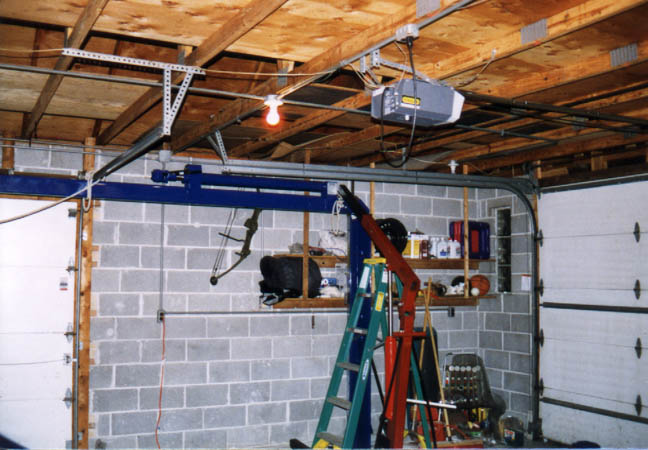
 Here is a picture of the planning of the lift install. It is very important to have each posts installed at the correct from each other. Since the posts are bolted to the ground you don't want to mess it up! |
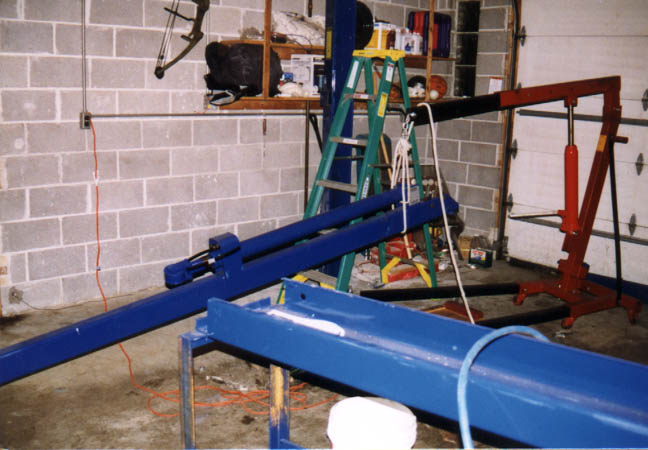 This is a picture of how I installed the power beam. It is the beam that runs the length of the lift and the leaf chains run through it. Welded on top of it is the hydraulic cylinder that raises the lift. |
 Here you can see how I used my engine hoist to help lift the power beam into place on the front and rear posts. It didn't lift it up to the top like I hoped so I had to get under it on a ladder and lift/push this 600lb piece the rest of the way. Talk about scary! |
 Now I am almost finished. I have the stationary ramp on the cross beams and am leveling it out. The adjustable ramp is on the ground but will be up shortly. |
 This is a picture of the motor and fluid reservoir. If you look closely you can see the air driven safety lock release button and the air cylinder that actually controls the angle of the safety locks. There is one safety lock release cylinder at each post corner. |
 It is finally finished. |
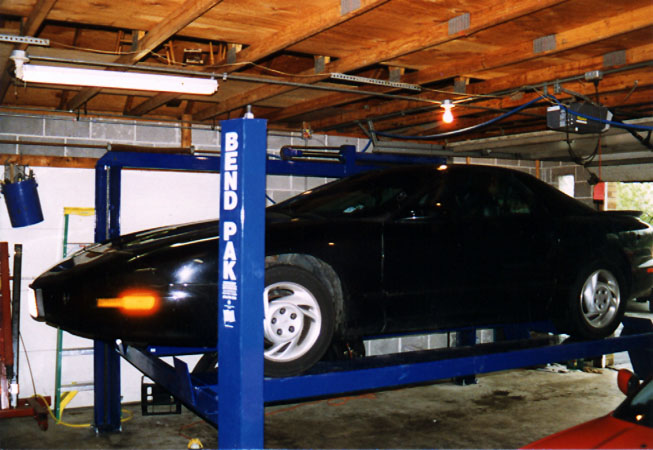 Here is a pix of my favorite toy on my second favorite toy! Now I need to modify the roof so I can raise up the car high enough to park one beneath it. |